It’s definitely interesting when you learn about the types of vivariums, but you probably don’t know this yet – jarrarium isn’t a real terminology. Don’t worry – I still listed jarrarium as one of the types of vivarium in one of my articles because it’s commonly used. 🙂
So now that you’re here and you made the decision to join the jarrarium bandwagon, your mind is probably wondering:
“How to make a jarrarium? What do I need? What steps should I take?” – from a curious future jarrarium owner with a jarrarium so great that it puts other owners to shame.

Seeing how many individuals are curious, I decided to create a helpful guide that’ll go in-depth with jarrarium and the steps into creating it.
The table below will give you an idea of all of the steps that you’ll have to execute to perfect your jarrarium.
Continue further into this guide to find out more information for each of these steps.
| Create A Jarrarium Step-By-Step | |
|---|---|
| Step 1 | Take Out Your Jar / Find Workspace |
| Step 2 | Gather Substrate To Fill Container |
| Step 3 | Sink Your Substrates |
| Step 4 | Add Aquatic Plants |
| Step 5 | Pour Sand or Gravel |
| Step 6 | Fill Up Water |
| Step 7 | Let Your Jar Sit |
| Step 8 | Add Everything Else (Not Animals) |
| Step 9 | Cycling |
| Step 10 | Replace Water |
| Step 11 | Add Animals |
This guide will cover:
- The definitive guide that’ll explain thoroughly about jarrariums.
- An explanation of the jarrarium Reddit community, which is definitely a you-must-join kind of group because you’ll encounter many jarrarium enthusiasts.
- A very simple step-by-step tutorial to building your jarrarium that even a kid can understand!
- I will include jarrarium useful advice and tips where it’s necessary.
Before we get started, it’s worth telling you that this process of creating a jarrarium can take several weeks to finish.
So future jarrarium owners, lovers, and enthusiasts…
Are you ready?
The Ultimate Jarrarium Guide
This section will cover the ins and outs of a jarrarium, what it really is, and additional information that will help beginners in having a better understanding.
What is jarrarium?
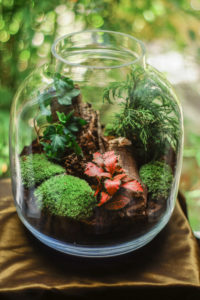
Jarrarium is best described as a mini-ecosystem that can be stored inside of a container, a jar, or even a fishbowl. It can be sealed or unsealed. It can be self-sustainable with a sprinkle of your imagination.
There are certain types of jarrarium that you can make.
- You can create a jarrarium with mini aquatic animals and plants. This is usually around 85~90% of water.
- There are also jarrarium owners with their ecosystem that has only 30% water. These types of owners want their ecosystem to appear pond-like.
- There have been people creating a self-sustaining jarrarium, which I thought is pretty cool.
Now you might be wondering…
How does a self-sustaining ecosystem work?
In a self-sustaining ecosystem, the ecosystem can survive and live without continuous care. This can work by balancing out life in your ecosystem, finding out what works, and let it cycle the inside of your jar/container.
Tip: Even if you believe that your jarrarium doesn’t need water once because it’s self-sustaining and sealed, there are numerous ways for water to escape. Always check!
Additional info that’s worth mentioning is that it’s usually a sealed jarrarium, not open. Why?
- By having the jarrarium sealed, the water can cycle throughout the jar.
Because of this, you should never add living animals inside a sealed jarrarium – but what about open jarrariums?
How does open jarrarium work?
In an open jarrarium, you can add living animals and plants based on your jarrarium’s size. The next section will discuss what you can keep. You should always remember your responsibilities when maintaining an open jarrarium.
You are also required to take good care of your jarrarium with the responsibilities of:
- Watering your plants, if needed.
- Feeding your pets if you added any.
- Replacing water to keep your jarrarium clean.
And then there are unexpected responsibilities (now you can expect) such as:
- Removing dead animals if the situation occurs.
- Plant growing outside of your jarrarium, which is causing problems because your jarrarium is meant for indoor.
- Your jarrarium beginning to smell and you’re not sure why.
- An infestation of snails.
These are just examples of problems you might be facing after having your jarrarium for quite some time.
You just learned the important types of jarrariums, now do you have an idea of what you want?
Great! – let’s find out what you can keep in a jarrarium.
Keeping Live Animals, Plants, Etc. Guide For Your Jarrarium
In this section, I will cover what you can keep in your jarrarium. Whether it’s an open jarrarium or closed jarrarium, I’ll do my best to make it as clear as possible.
What can you keep in an open jarrarium?
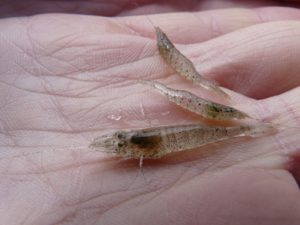
Every jarrarium has plants, but not animals. For open jarrariums, keeping live animals depends on the owner. When I was reading forums and searching on the internet, it appears that most jarrarium owners generally add:
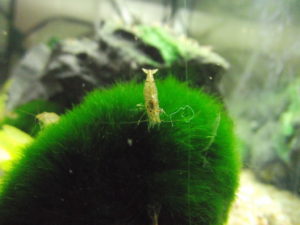
- Red Cherry Shrimps
- Snails (choose carefully)
- Terrestrial Plants
- Submersed Plants
- Emersed Plants
This is not mandatory or a must, but rather to give you an idea of what people usually add in their jarrarium. What you add is entirely up to you.
How about closed jarrarium?
What can you keep in a closed jarrarium?
Again, closed jarrarium is known as self-sustaining which means what you can add can be very limited. By having it sealed, it will create a humid environment.
You will have to choose plants that can live in moist soil in addition to being able to live in the humid air. Here’s an idea of what you can keep:
- Ferns
- Venus Fly Trappers
- Golden Clubmoss
- Including hundreds of other plants that can survive in humidity.
Do not add succulents because they will not do well in a closed jarrarium. This idea probably occurred in many people’s minds, so just remember that you should never add a succulent.
Gathering Items: The Checklist + What You Need

Before you even jump straight to the jarrarium guide, you should consider looking at this checklist of the materials that you will need.
Reminder 💡 : You won’t be needing everything. What you need depends on the type of ecosystem you’re going to create. You should read the entire guide first before actually starting.
You can collect these items as you go up the steps during the jarrarium guide. No need to grab them all first. Whichever way helps you more. 🙂
Here’s your jarrarium item checklist:
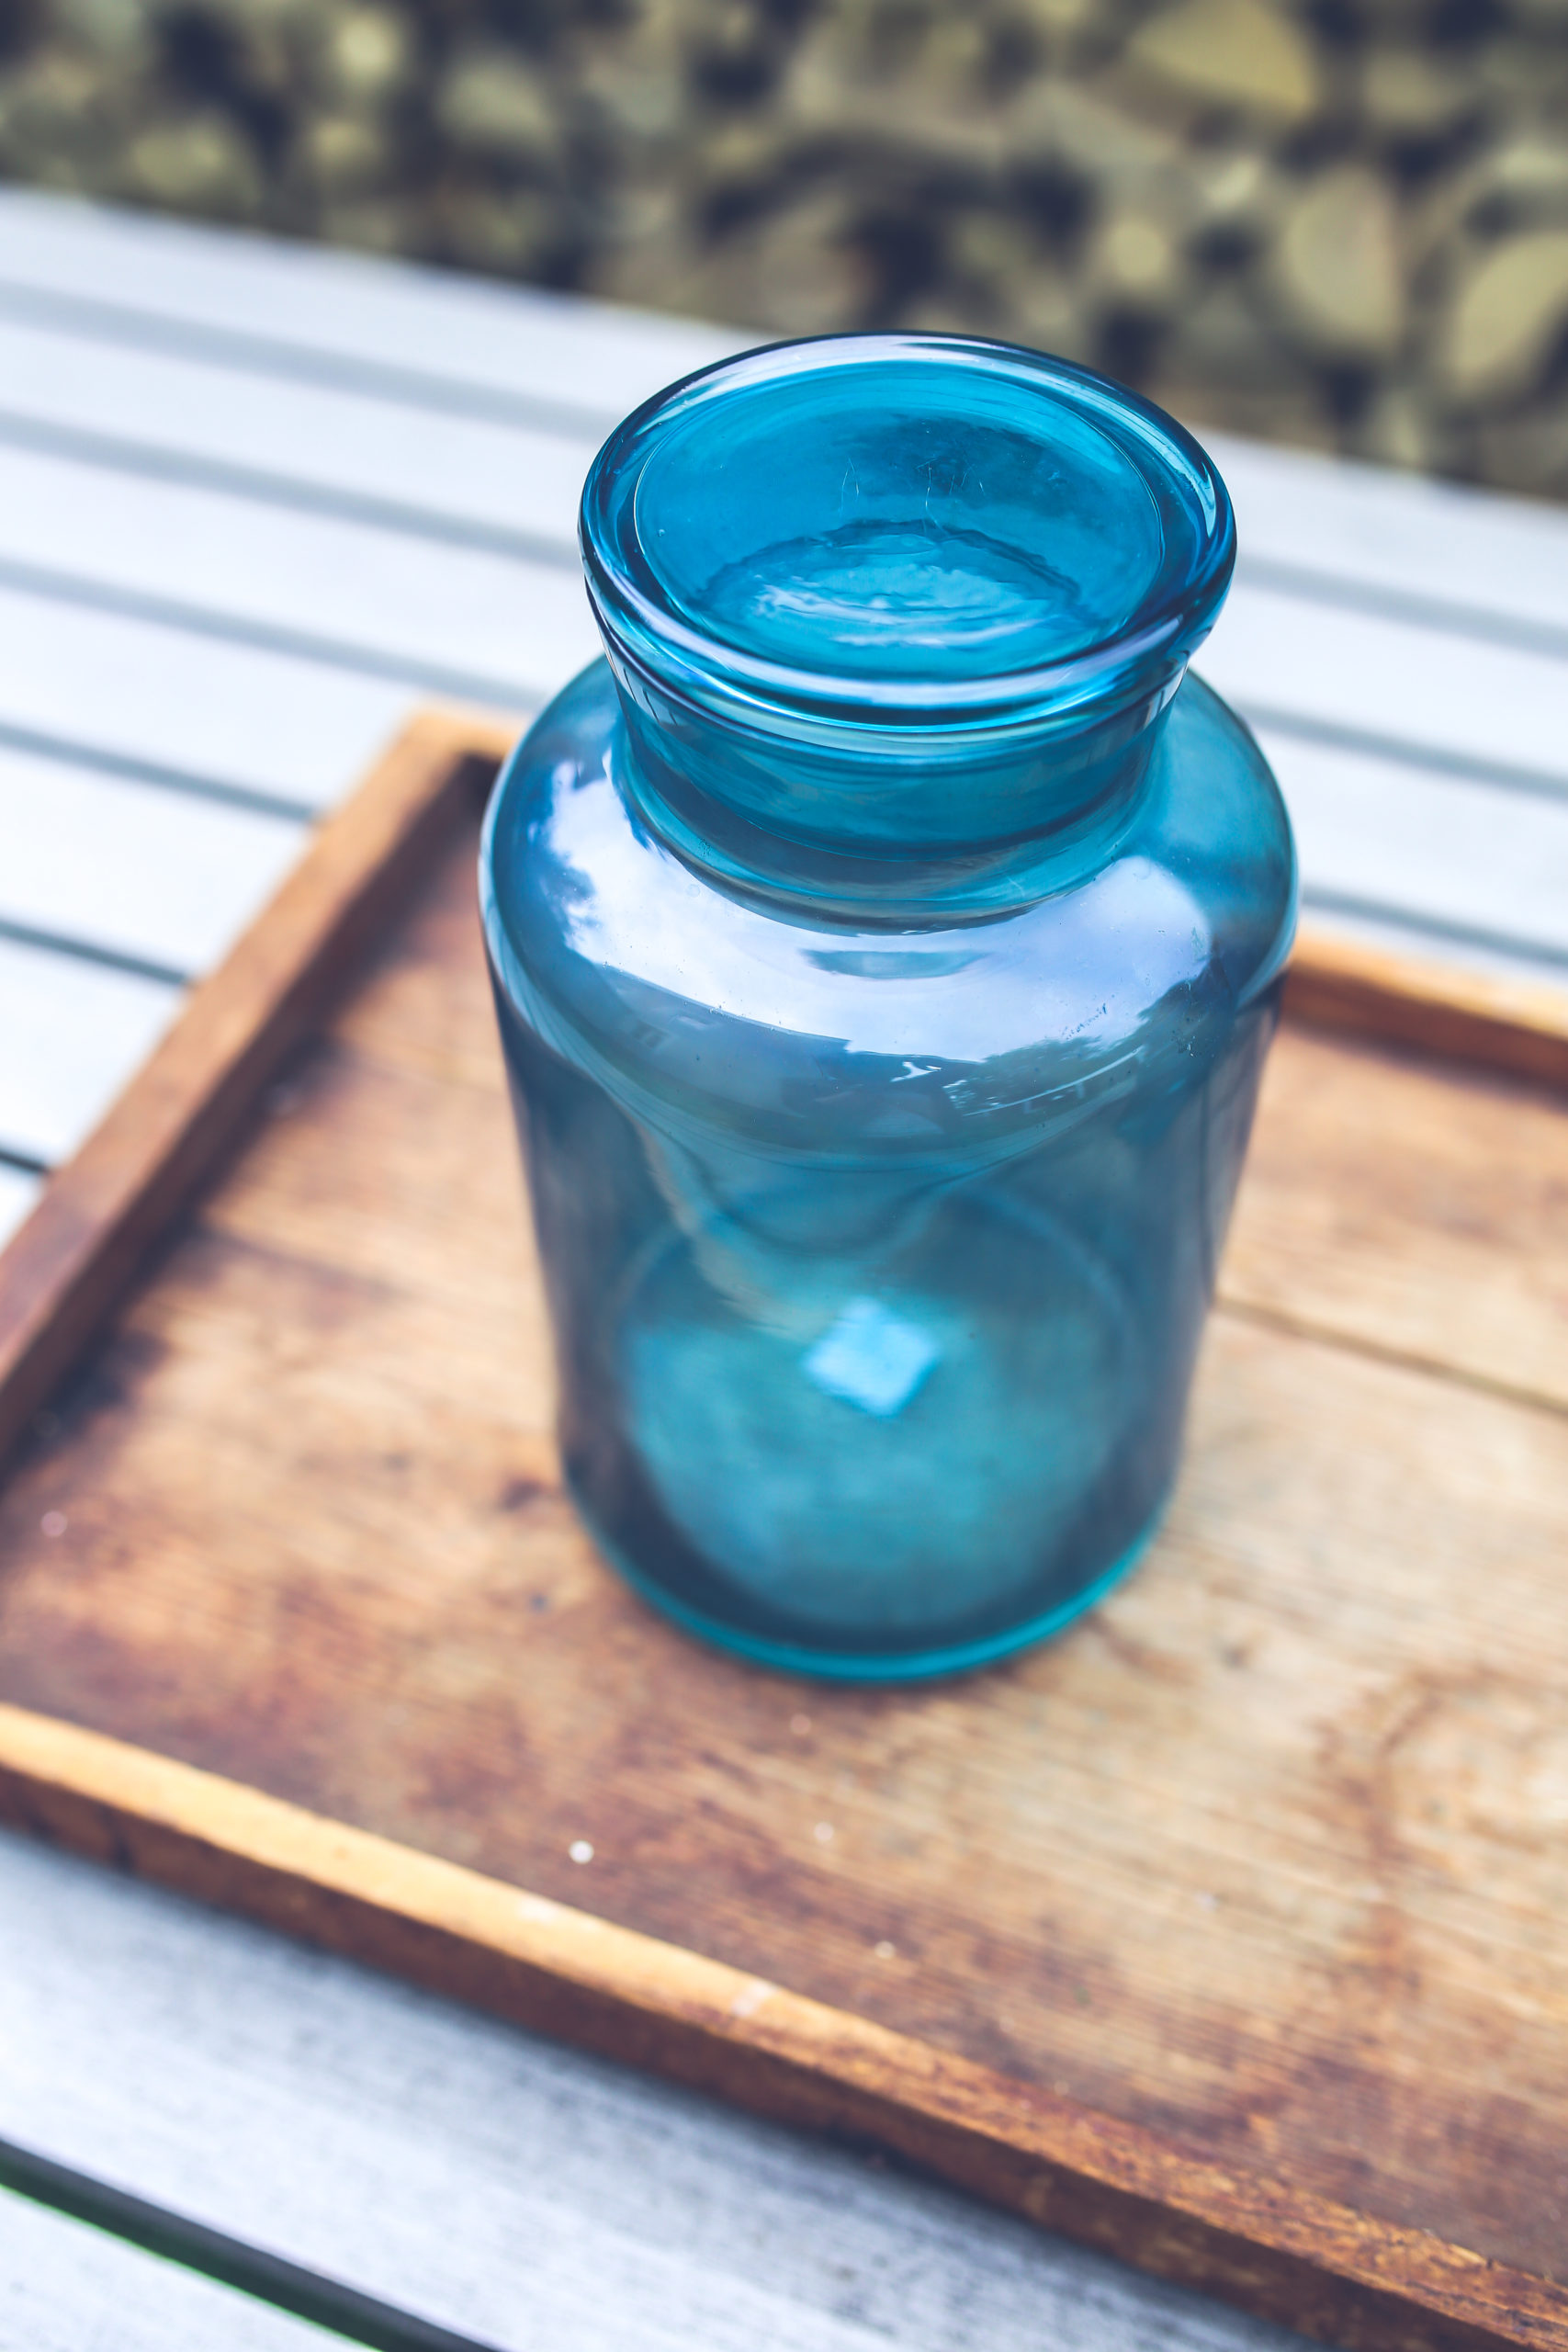
Item 1) Jar, mini container, a vase, etc. 1.5 gallons or higher: It’s recommended that your jarrarium is about 1.5 to 3 gallons in size. Don’t go any lower than that especially if you’re planning to add living animals.
There have been people with a jarrarium as large as a 10-gallon vase. Choose the one that best suits you. Trying to find a container?
- There’s a probable chance that you have a vase or some kind of container unused in your kitchen/garage. Check to see if you can find any. 🙂
- You can head to a Walmart, Target, or any family stores. Chances are, you’ll find one somewhere in the kitchen isle.
- On a budget? You can save money by checking out the Facebook Marketplace or Craigslist. If you’re lucky, there’s probably a person kind enough to give it away for free.
- You can also buy your mini containers online. You can check it out right here.
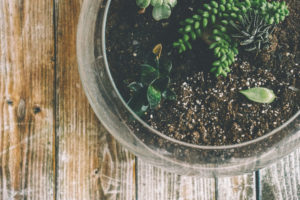
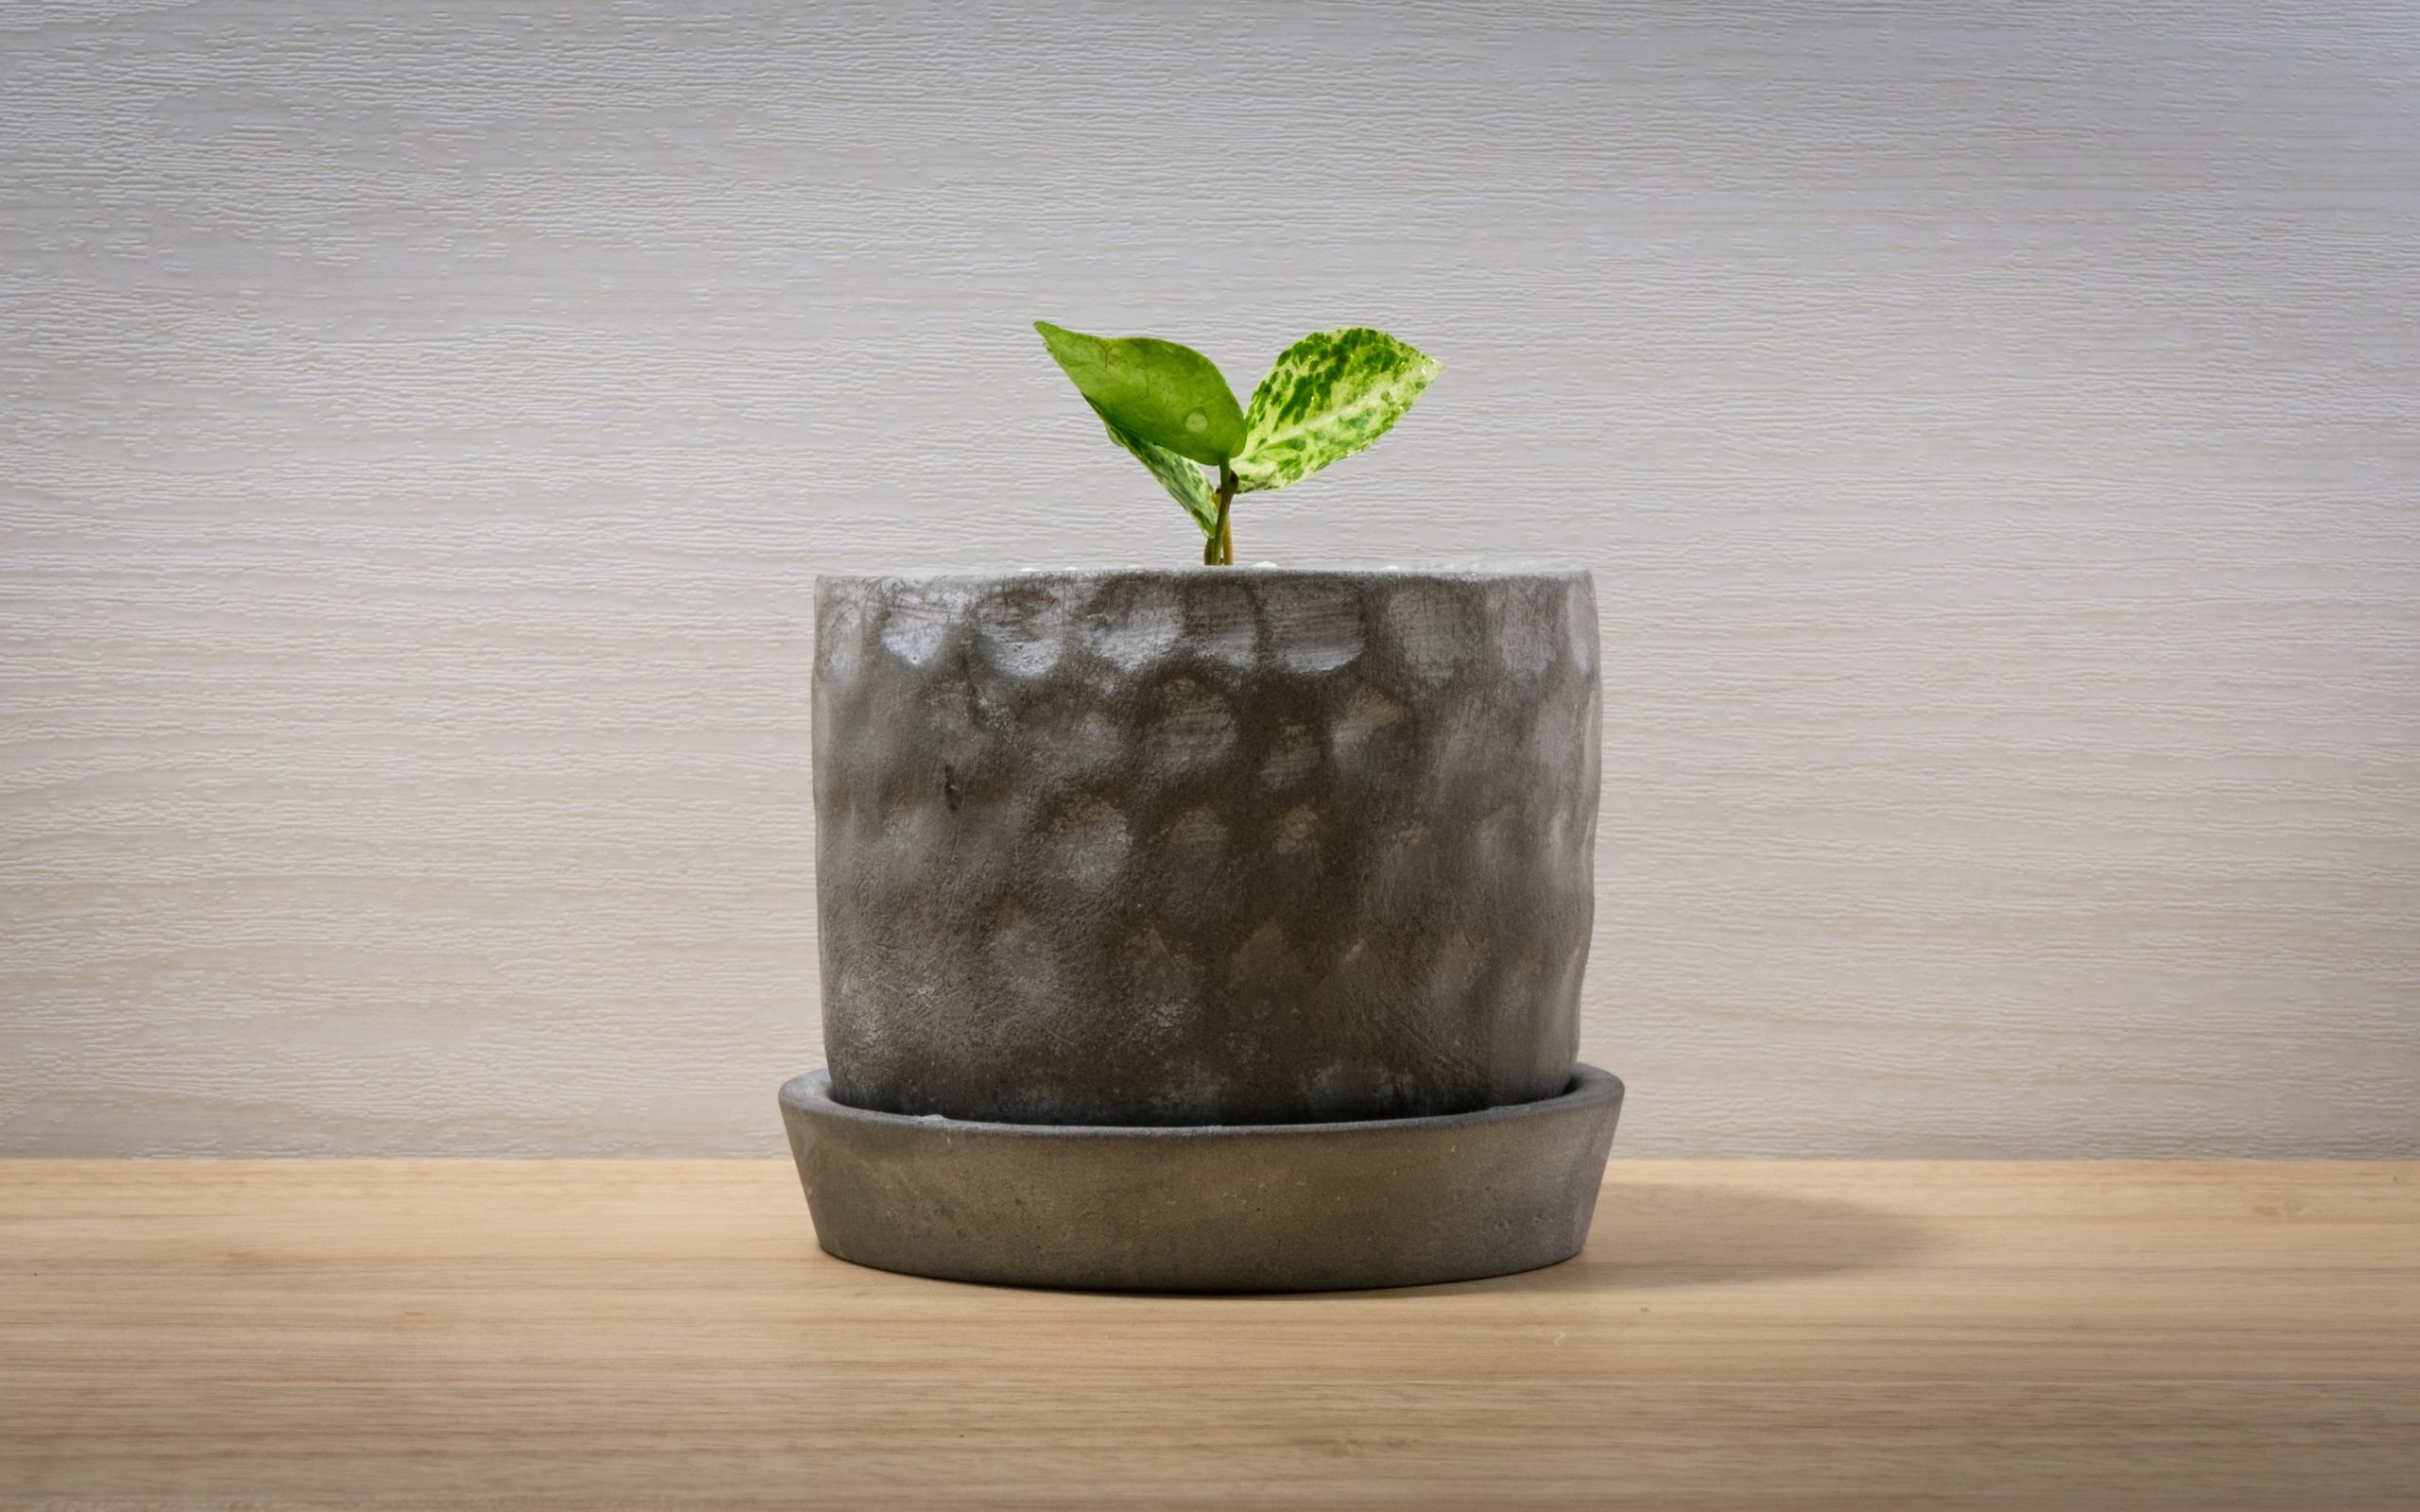
Item 2) Substrate: This is an underlying substance or layer that you have to add for your jarrarium. The type of substrate you add depends on the type of ecosystem you want. Here’s a short/quick simple guide:
- Potting Soil / Potting Mix: This type of soil is really affordable, but not preferable for many plants.
- Aquarium Soil: This type of soil is great to add with a pond or full-water container. This is regular soil that got baked into pellets.
- You can also find soil in your backyard or front yard. Observe and use carefully.
- Sand would be helpful in growing your plants.
- Eco-Complete is a substrate brand that’s mainly for planted tanks. This should help.
Remember, if you want to grow plants – get soil.
Item 3) The RIGHT kind of water: It’s recommended to use the right kind of water. You should always use demineralized water or water from the rain. Not tap water. Why?
- This will give you purer plants as well as helping chlorine and chemicals evaporate.
- Various plants will struggle with tap water. (leaves with dried spots, white residue, etc.)
- Using tap water can cause a build-up in your jarrarium, which will harm your plants.
- Your jarrarium will smell due to rotting plants.
So now you’re probably wondering… where do I get demineralized water?
Okay, you probably know that aquarium owners will use tap water, and that’s no problem. The reason you need demineralized water is because of the plants you’re going to add.
You can find demineralized water at your local pet stores, Petco, Walmart, and even Home Depot. Do you have bottled spring water? Sure, why not!
Item 4) Animals and plants: What’s a jarrarium without animals and plants, lol?
Advice: You should buy animals at the end of your building process because you need several weeks to cycle your water.
You can start off with plants, which is fine.
Item 5) Long thin tube or drill pump: This is what you should have if you’re planning on having a clean jarrarium.
Remember when I mentioned cycling water?
This is what you need to cycle water. With a long thin tube, you can connect one end to the water and the other end inside a bucket. To create a vacuum, you’ll need to use your mouth on the thin tube. You can purchase one at your local pet stores or check out the price online here.
There is another option that is less messy, which is using a drill pump. You can connect a drill pump (check price here) to your drill, and use the power to drain out the water.
Before you get started: I will explain the items that you’ll need during the steps of this guide. You can purchase your items right after you read this guide to give you a better understanding of what you need. My advice? Read the guide first.
Creating Your Jarrarium: The Steps
Are you ready to create your beautiful jarrarium? You can always add a little imagination and creativity during the process of this build.
Let’s begin with the first step:
Step 1 – Take Out Your Jar / Find Workspace

Yes, that’s right. The first step is to take out your jar/container and find a workspace in your home. You don’t want to make the inside of your house a mess, so preferably somewhere outside.
It’s also worth noting that if you’re planning on adding animals, make sure that your container is at least 1.5 gallons or more.
Done finding a spot to work on your jarrarium?
Step 2 – Gather Substrate To Fill Container
In this step, you will have to fill your jar with a type of substrate (mainly soil) that you picked. What you choose is up to you. My recommendation would be Eco-Complete.
NOTE: You’re not adding sand or gravel until step 5.
When you’re adding substrate, you want it to be around 1-1.5 inches high. By making it 1 to 1.5 inches high, this will allow space the roots of your plants to grow.
Step 3 – Sinking Your Substrates

Your substrate will most likely float in the beginning after being immediately exposed to water. After you complete step 2, you should add water to your container/jar.
Tip: By using demineralized water, you can avoid long term problems such as rotten plants, smelly jar, etc.
You want your substrates to be wet in a way where the water doesn’t rise above the substrate.
You can apply step 4 while letting it soak. You want it to be soaked for about 12 hours. You want the substrate to stay wet to prevent them from floating.
Step 4 – Add Aquatic Plants

While you’re waiting in step 3, you can start by adding your plants. The plants you choose depends on the percentage of water you’re planning to fill your jarrarium. Is it land plants or aquatic plants?
Start adding your plants to the root. Don’t worry too much if your aquatic plants are left exposed to air. They can definitely survive over 12 hours when left exposed to air.
Step 5 – Pour Sand or Gravel
After you finished with waiting in step 3 for your soil to soak, you can start adding sand/gravel. If your plants are already rooted and in the soil, that’s great.
Did you know? 💡 When you have sand/gravel on the bottom of your jarrarium, it separates the soil from the water.
You want to spread the sand/gravel throughout your container/jar and fill it up to about 0.5~1 inch high. This will help create a barrier between the water and soil.
Step 6 – Fill Up Water

Remember: Use demineralized water to prevent future problems! You can check this out before continuing.
Now you’re going to want to fill up your jar/container with water. To prevent the water from breaking through your gravel/sand, you should find a way to add the water lightly.
Here are some ideas (you want to reduce the force of the water as much as possible):
- You can put something flat above your sand/gravel, and then water it. By doing this, the water will land on top of the flat item, instead of breaking through your sand/gravel.
- An internet blogger mentioned how you can use a spoon to reduce force. I thought it was a great idea as well.
Done filling it up?
Step 7 – Let Your Jar Sit
Now you’ll have to wait again. This time, you’re leaving your jar/container filled with water sit until the water becomes a little more clear.
Let it sit for 6 to 12 hours. During this process, you can add any additives to your water. Example: Water conditioner, etc.
Note: You can change the water daily until it becomes clear
Step 8 – Add Everything Else (Not Animals)
Add in whatever you need that’s left except animals – I’m talking about decorations, plants, etc.
You don’t want to disturb your ecosystem in the future, so it’s advised that you should add anything you want in this step.
Don’t worry. Take your time!
When you’re adding decorations that stay on the bottom of your jar, find a way to let your decoration go down slowly to prevent it from breaking the sand/gravel barrier.
Step 9 – Cycling

During your cycling process, the helpful bacteria in your tank will break down wastes, as well as turning toxins like ammonia into less harmful things. They become nitrite/nitrate.
When you’re at this step, remember to let it sit for about two weeks not disturbed. You still shouldn’t be risking by adding any animals yet.
Step 10 – Replacing Water

This is where the long thin tube or drill pump comes in handy. You’re going to want to keep changing water until it’s clear.
Here’s how often you should be replacing the water:
- 1st/2nd week – contain/jar cycles (step 9)
- 3rd/4th week – change half of the water weekly (work with step 11)
- 5th/6th week – change 1/4th of the water weekly
Step 11 – Add Animals
After waiting for about two weeks of cycling, you should now be replacing water weekly starting at step 10.
After the cycling process, you can now finally add animals to your jarrarium! You can add shrimps, snails, or any small invertebrates.
You can even buy them online:
When you receive your newly beloved pets, try putting the bag inside with your jarrarium. This will help them get used to the temperature.
You made it! You completed all 11 steps. Check out this helpful video below!
Do you still have any questions?
Then you might want to check out this jarrarium Reddit.
Jarrarium Reddit, The Community For Enthusiasts

Yes, that’s right! There’s a community of over 70,000+ members on r/Jarrariums subreddit that was built in 2014. Believe it or not, this subreddit is quite active and everyone is helpful.
If you’re ever stuck on a question or a build, don’t hesitate to come to this subreddit and ask questions – or you can comment on below to ask me as well.
From VivariumTips,
![]()
This is one of my first guide on this blog. Hopefully, you find it helpful. Expect more guides to be coming soon.
Don’t forget to check out related articles that I highly recommend:
- Must-Know Facts During Your Paludarium Construction
- Can a snail live in a terrarium?
- Do shrimps eat poop?
- How many shrimps do you need to start a colony?
If you have any questions or feedback, don’t hesitate to comment below.
How to support?
The best way to support this website and the information I provide is by sharing any articles on here with a friend.
[amazon bestseller=”jarrarium kit” items=”3″ ]